On the heels of completing the initial sheet mulching steps of The kitchen Garden (formerly known as The Secret Garden), we began our herb spiral. The process is similar in that materials are layered to magically build soil.
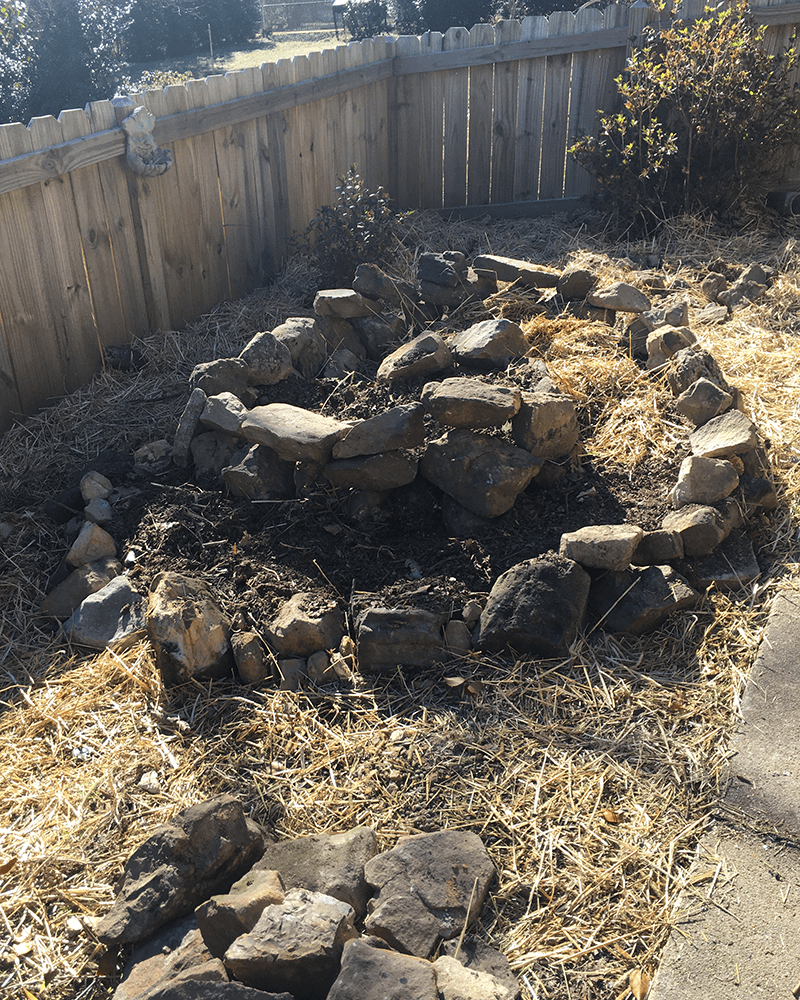
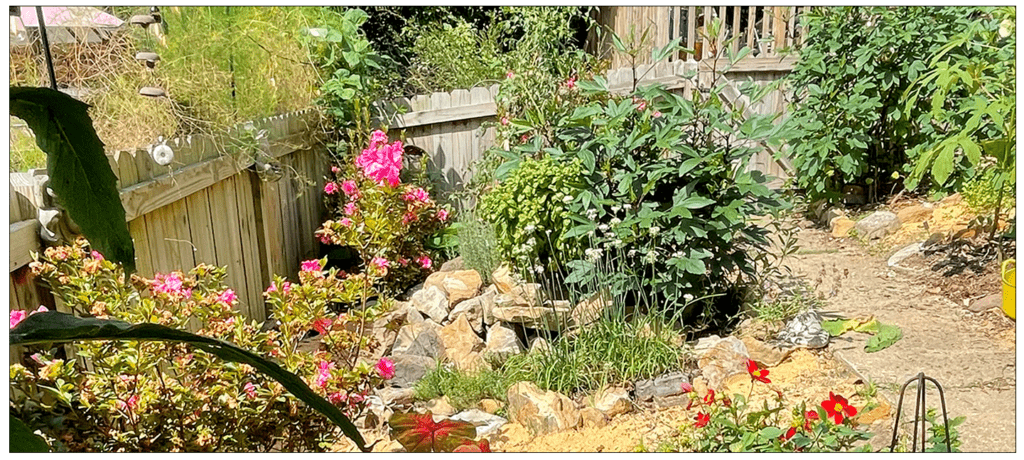
We began by placing rocks, all resourced from our property, in a spiral formation, and stacked them upwards as we went round. We filled the bottom with sticks and topped them with good old wheat straw.
Tip # 1 – Reuse garden waste!
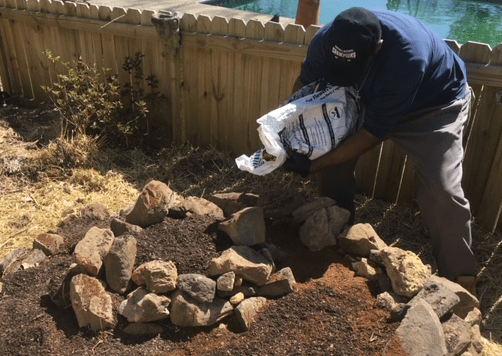
Melvin helped add all of the homemade compost we had — our raked leaves, grass clippings, pulled weeds, trimmed garden specimens, small sticks, pieces of bark, and kitchen scraps are composted together. Given enough time, this combination produces the very best dirt you’ve ever seen. And the best news about it all is that this process puts the very nutrients these plants took from the soil, back into the soil. Sending the yard trimmings off in plastic bags to a dump somewhere is robbing the soil and trashing our planet. That’s not how nature works! Think of the lushness of the forest. No one is carrying anything off or bringing anything in to make things grow.
Melvin then layered the spiral with a couple of bags of purchased topsoil — the icing on the cake. I am hopeful I will eventually make enough compost to supply all my gardens. For now, I need a little help from my friends… and my garden shop.
Tip # 2 – Take advantage of microclimates!
The cool thing about a spiral garden is that it provides numerous growing conditions. Plants at the top have more well-drained soil. The bottom of the spiral is favorable to herbs that enjoy wet feet. And the configuration offers varied growing conditions with north, east, south, and west-facing areas all in one, compact little spot.
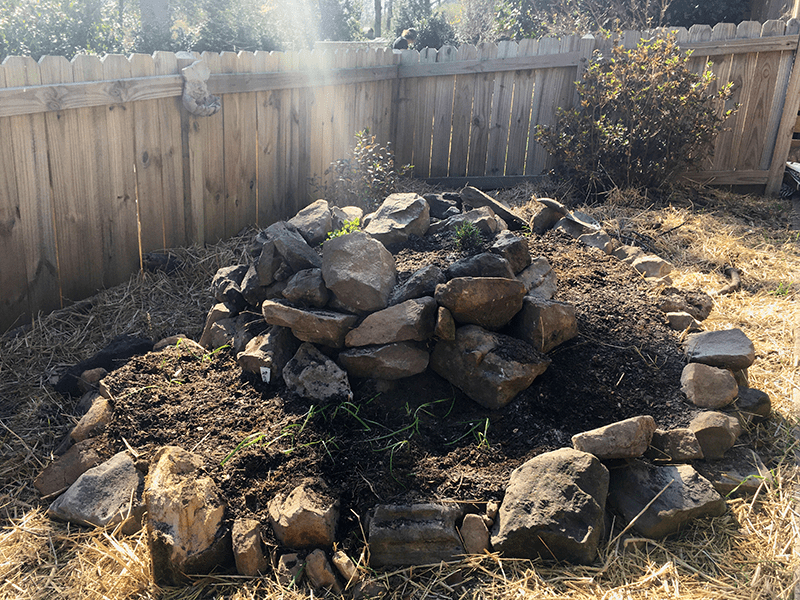
I knew the danger of frost was not yet past, but I was eager to get started, so I put in some winter hardy specimens. I swiped garlic chives and some parsley from the large pot on the deck that was in need of thinning. I transplanted sage that my nasturtium was covering in another garden, and I added a young rosemary plant from the garden shop.
Toward the end of March I felt confident there would be no more frost, so I purchased two types of thyme and planted one on the east side, and the other on the west. I put a lavender plant in a south-facing spot toward the top. I also broadcast amaranth, basil, dill, coriander, borage, and calendula. This effort would prove to be in vain.
Tip # 3 – Live and let live
The sheet mulching process relies on the fauna to do their good work of turning the layered material into dirt. As the season went on, the tiniest of slugs flourished on the layered materials. Unfortunately, they also enjoyed ALL the seedlings. Not a single one made it past a half-inch tall. I considered a number of ecological ways of eliminating the baby slugs. Then it occurred to me, not only had I invited them, but they were actually working for me! I decided to just hide and watch. I also invited birds. Lots of birds. Birdseed filled the feeders in and around The Kitchen Garden. The birds took their share of the slugs and left rich deposits in their droppings. As I’d suspected, nature balanced things out; the numbers of slugs declined and my layers turned into rich and lovely dirt.

I transplanted some of my older seedlings- basils, and a sorrel, into the spiral later in the season. The basils thrived in the spiral, and what I thought was sorrel turned out to be roselle seed, which clearly enjoyed the environment. It will be interesting to see if seed will do better next Spring.
Tip # 4 – But get rid of the bad fungus quick!
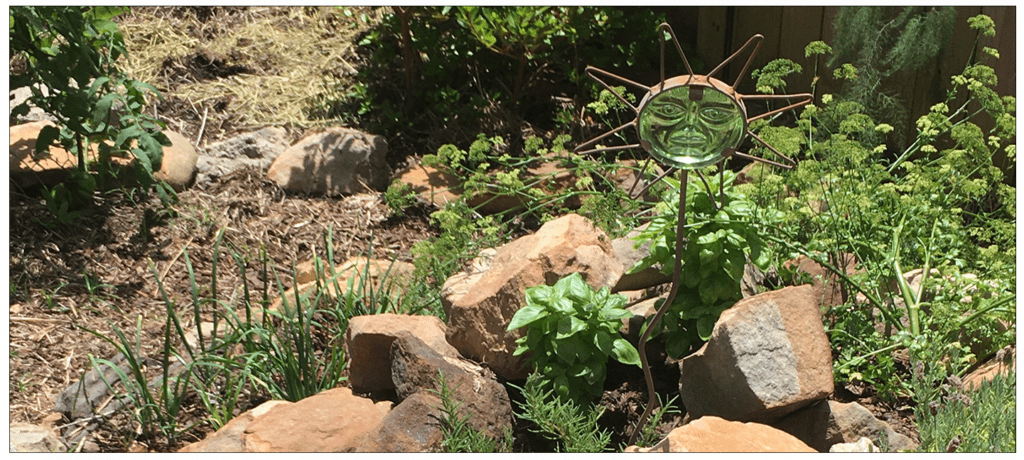
In late summer we took a two-week vacation. When we returned in early September, the spiral was full to bursting.
The two varieties of basil I’d started in containers and transplanted to the spiral had a fine time and grew large and gorgeous, the lavender was outstanding and smelled divine, and the chives and lemon thyme seemed very happy. The parsley had bolted and gone to seed for producing in the months to come.
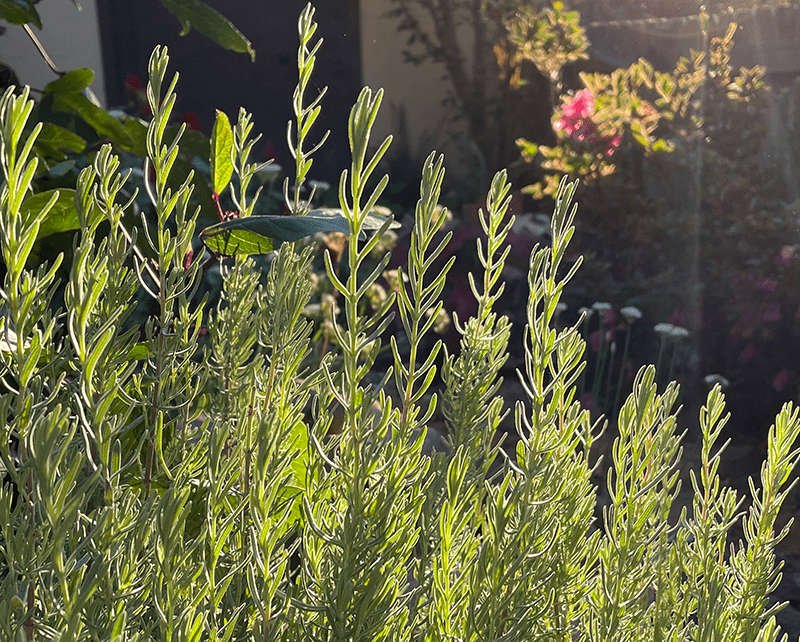
Sadly, one day I noticed the basils were looking a bit yellow. Those beautiful, robust couple of plants went from full and lush to brown and wilted in just a few days. My Picture This app identified the issue as a fungus. I pulled them both, gathered up all the fallen leaves, and placed the lot in the burn pile. No doubt, this fungus enjoyed our very wet summer season, and I didn’t want that spreading any further.
Tip # 5 – Take notes and plan for next year!
The herb spiral experiment was an adventure and a learning experience. I’ll have to do a bit of rock re-arranging. Things have shifted, and some rocks have tumbled into places I don’t want them. I’ll shape it back up, add some more homemade compost, and continue to enjoy the chives, sage, and rosemary all winter. But the most exciting thing is taking what I’ve learned to plan, dream, and prepare for next year!
3 thoughts on “The Herb Spiral – Tips and tricks from a new user!”
Comments are closed.

Enjoyed reading about and seeing photos of spiral herb garden. Look forward to what you do next in there.
When you say “we” are you referring to Richard or do you have a gardening partner? Just curious
Hi Kim! Richard helps me a lot. I also have a gentleman that comes to help me once or twice a month. You can see him in this article:
https://spreadgoodstuff.com/sheet-mulching/