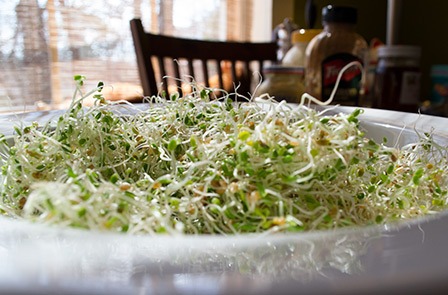
I’m ready for a big, hearty salad out of my own garden — NOW! But my lettuces, although lovely and green, are still rather small. If I picked them all I could come up with one good chef’s salad, but that would be it, and I’m impatient! What’s a girl to do?
Sprouts to the rescue!
Sprouts of edible plants are packed full of goodness. In order to ensure the plants-to-be get a good start, sprouts begin life overloaded with nutrients. They contain significant amounts of vitamins A, C, and D, and are purported to contain high levels of disease-preventing phytochemicals. And they are fun in salads and sandwiches!
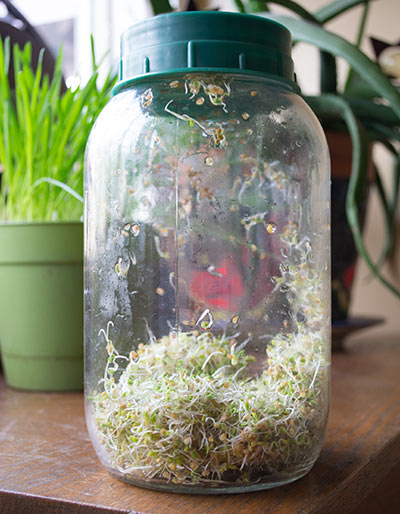
I’ve got a tried-and-true method for growing sprouts that I’ve used for years. You simply take a large glass jar with an open lid, with a piece of screen going between the jar and the lid. The jar I’m using was purchased from Whole Foods, but it would be an easy thing to put together with a large canning jar and lid. I’m using clover seeds sold specifically for sprouting, but alfalfa, radish, beans, and many other seeds make great choices as well.
To get the sprouts started, I’ve put a tablespoon of seeds into the jar and added water to a couple of inches above the seeds. This will sit overnight. In the morning, I drain the water from the seeds — and be sure to use the drained water in planters or gardens, because it contains lots of good nutrients your houseplants and garden plants will enjoy!
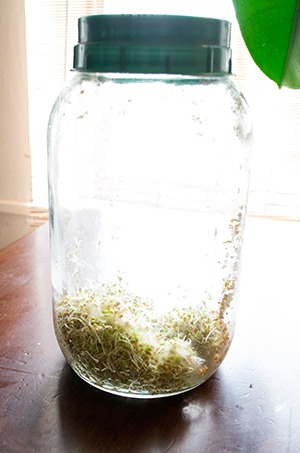
Rinse the seeds in the jar with fresh water twice a day, and handle the sprouts gently. If they break, they will begin to decompose instead of continuing to grow. As they grow, the sprouts will be a whitish color; I like to “green” the sprouts before I use them, so I’ll put the jar near a window with plenty of sunlight a day or so before I want to eat them. These clover sprouts are about 4 days in. I’ll let them mature for another day or so.
While I’m anxiously awaiting these little lovelies, I’m trying something new I learned from Alys Fowler, my favorite gardening star! She suggested that any plant you grow to eat the leaves of as a mature plant is also suitable as a sprout resource. These are planted in dirt and taken just as they are getting going. I’ve selected cabbage and mustard green seed packs I purchased from Garden Shop of Homewood.
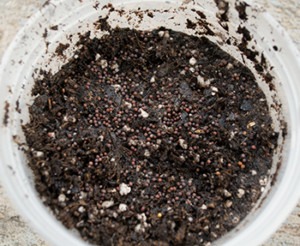
I’ll take a couple of recycled to-go food containers, poke holes in the bottom, and fill them with probiotic potting soil. I’ll saturate the dirt first, then layer on a thick spread of seeds. “It doesn’t matter if they are close because they won’t be around long enough to get crowded,” says Alys. I’ll layer a bit of dirt over the seeds and gently tamp it down.
It is important not to let them dry as they are getting started. You can even cover them with a plastic lid or plastic wrap to create a little miniature greenhouse. Be sure to uncover them the red-hot minute they pop out of the soil so they don’t mildew!
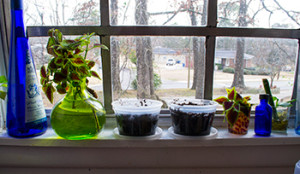
I’ve set the two containers in my south-facing kitchen window along with other cuttings I’m trying to over-winter till Spring.
My youngest daughter, an avid fossil, rock, and frog collecting youngster used to say, “Mom, I want to be all scientifical!” I get it, girl! It’s lots of fun! So I’ll note my progress, track with photos and report back in a couple of weeks.
To read the rest of this story, click here!
2 thoughts on “Windowsill Salad Garden”
Comments are closed.